Top 3 Best Export Settings for KineMaster: A Master Guide
KineMaster is a powerful and easy-to-use video editing app that helps you create amazing videos right from your phone. Once you’ve finished editing, the next step is exporting your video in the best quality possible. In this guide, we’ll cover the top 3 best export settings for KineMaster to ensure your videos look their best when you share them.
Whether you’re creating a fun YouTube video, an Instagram story, or a school project, these best export settings for KineMaster will help your videos look sharp, professional, and high-quality.
What Are Best Export Settings for KineMaster and Why Are They Important?
Before we dive into the best export settings for KineMaster, let’s first understand what best export settings for KineMaster are and why they matter.
best export settings for KineMaster control how your video looks when it’s finished. It determines things like the resolution, frames per second (fps), and bitrate. These settings make sure your video looks good, plays smoothly, and doesn’t take up too much space on your phone or computer.
Choosing the right settings can make a huge difference. If you don’t use the best export settings, your video might look blurry, or it might be too big to share easily. That’s why understanding how to best export settings for KineMaster videos correctly is so important.
Best Export Settings for KineMaster #1: Full HD (1080p) at 30fps
The first export setting you should consider is Full HD (1080p) at 30fps. This is perfect for most videos, especially if you’re sharing them on YouTube or social media.
What is Full HD (1080p)?
Full HD means a resolution of 1920×1080 pixels. This is very clear and is the standard for high-quality videos. Most people watch videos on their phones or laptops, and Full HD looks great on both.
What is 30fps?
FPS stands for frames per second, which tells you how many individual frames or pictures are shown every second. 30fps is smooth enough for most videos, making your content look polished and professional.
Why Use Full HD at 30fps?
This setting gives you a clear, sharp video without making the file size too large. It’s perfect for uploading to platforms like YouTube, Instagram, or TikTok. It’s also supported by almost all devices, so your video will play well on most screens.
How to Set This in KineMaster:
- Finish editing your video in KineMaster.
- Tap the Export button.
- Choose Full HD (1920×1080) as the resolution.
- Set the frame rate to 30fps.
- Set the bitrate (leave it on “Auto” or adjust manually for more control).
By using Full HD at 30fps, you ensure your video looks crisp and smooth, perfect for sharing on any platform.
Best Export Settings for KineMaster #2: HD (720p) at 60fps
Another excellent best export settings for KineMaster is HD (720p) at 60fps. This setting is great if your video has a lot of motion, like sports or action scenes, where smoother movement is important.
What is HD (720p)?
HD means a resolution of 1280×720 pixels. It’s not as sharp as Full HD, but it still looks really good, especially on smaller screens like phones and tablets.
What is 60fps?
60fps means the video shows 60 frames per second, which results in smoother movement. This setting is perfect for action-heavy videos, like sports clips or fast-moving scenes.
Why Use HD at 60fps?
If you want your video to have smoother movement but don’t need super high resolution, HD at 60fps is a great choice. It’s also more storage-friendly than Full HD or 4K, making it easier to save and upload.
How to Set This in KineMaster:
- Tap on the Export option after editing.
- Choose HD (1280×720) as your resolution.
- Set the frame rate to 60fps.
- Adjust the bitrate if needed, or leave it on “Auto.”
This setting strikes a balance between quality and smoothness while keeping file sizes smaller than Full HD or 4K.
Also Read: Kinemaster Pro Mod Apk Download v4 15.9 17782 GP No Watermark
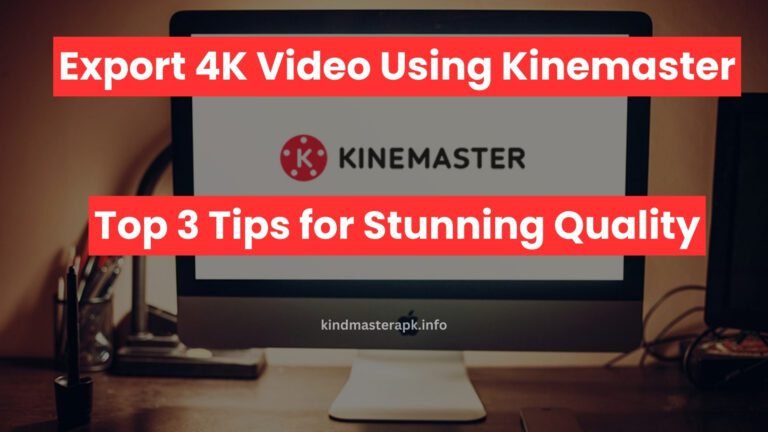
Best Export Settings for KineMaster #3: 4K (2160p) at 30fps
If you’re after the highest quality possible, choose 4K at 30fps. This setting provides super-sharp video, perfect for professional-looking content.
What is 4K?
4K means a resolution of 3840×2160 pixels. This is four times the resolution of Full HD, resulting in extremely clear and detailed video.
What is 30fps in 4K?
Just like with Full HD, 30fps is smooth enough for most types of videos, giving a polished look to your content.
Why Use 4K at 30fps?
4K at 30fps is ideal for special projects where you need the best possible quality. Keep in mind, though, that 4K videos take up a lot of storage space and might take longer to upload or download. You’ll also need a device that can play 4K video smoothly.
How to Set This in KineMaster:
- Go to Export in KineMaster.
- Choose 4K (3840×2160) as your resolution.
- Set the frame rate to 30fps.
- Adjust the bitrate to “Auto” or set it manually for the best result.
Using 4K at 30fps ensures your video will look incredible, but be prepared for larger file sizes and longer processing times.
Conclusion: Pick the Right Setting for Your Project
Choosing the best export setting in KineMaster depends on your needs. If you’re posting on social media, Full HD at 30fps is ideal. For action-packed videos, try HD at 60fps. And if you’re going for top-notch quality, 4K at 30fps will make your videos shine.
Remember, higher quality means bigger files, so balance your best export settings for KineMaster with your available storage space and where you plan to share the video.
FAQs
1. What’s the best export setting for YouTube on KineMaster?
For YouTube, Full HD (1080p) at 30fps works best. It balances quality and file size for smooth uploads.
2. Can KineMaster export videos in 4K?
Yes, KineMaster supports 4K (2160p) export. Just be aware that 4K files are larger and may take longer to process.
3. What is bitrate in KineMaster?
Bitrate is the amount of data used per second in your video. Higher bitrates mean better quality but larger file sizes.
4. How can I reduce the file size of my KineMaster video?
You can reduce file size by lowering the resolution (for example, from Full HD to HD) or by reducing the bitrate.
5. What does FPS mean in video export?
FPS stands for frames per second. It tells you how smooth the video is. A higher FPS (like 60fps) results in smoother motion.
6. What is the best export setting for Instagram videos?
For Instagram, Full HD (1080p) at 30fps is the ideal setting, providing great quality without large file sizes.
7. Why is my video blurry after exporting from KineMaster?
If your video looks blurry, you may have used a low resolution or low bitrate setting. Try exporting in Full HD (1080p) for clearer results.
8. Can I change best export settings for KineMaster after saving my video in KineMaster?
Unfortunately, once the video is exported, you can’t change the export settings. Make sure to choose the right settings before exporting.
9. Is 30fps or 60fps better for KineMaster?
It depends on your project. 30fps is fine for most videos, but 60fps is better for fast-moving scenes.
10. What is the difference between HD and Full HD?
HD (720p) has a resolution of 1280×720 pixels, while Full HD (1080p) has 1920×1080 pixels, providing clearer and sharper video.