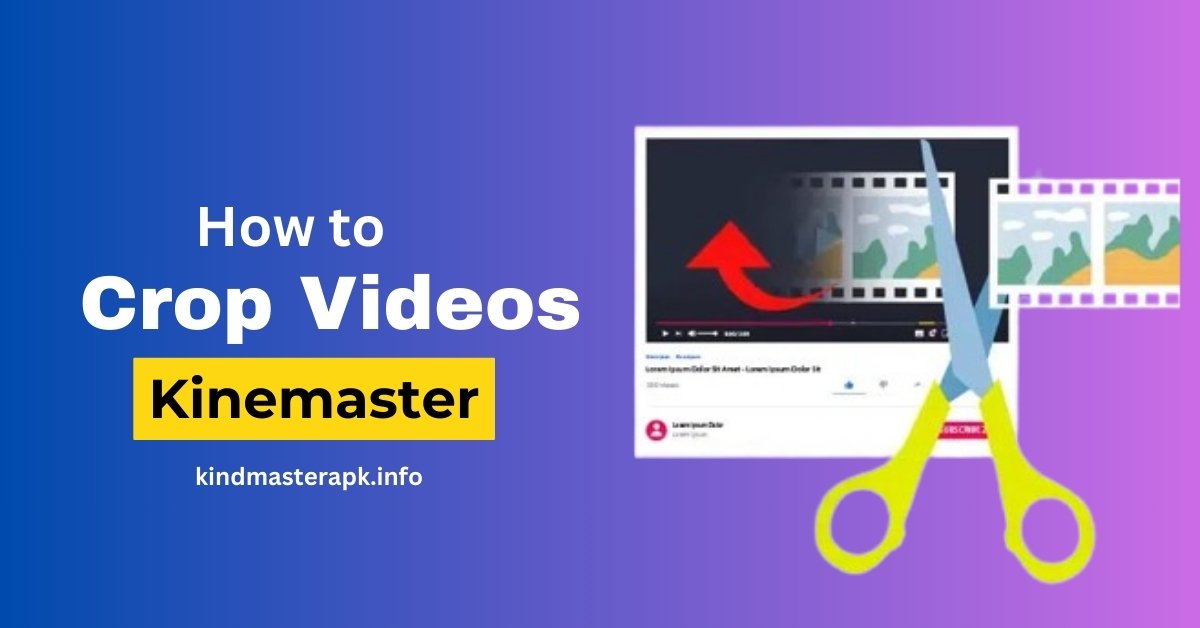
How to Crop Videos in Kinemaster: 5 Simple Steps
How to
Cropping a video is a quick and simple way to improve its appearance by focusing on the most important parts or removing distractions. Kinemaster, a popular video editing app, makes this task easy even if you are new to video editing. Whether you want to create content for YouTube, Instagram, TikTok, or other platforms, cropping ensures that your videos fit perfectly and look polished. In this guide, we explain how to crop videos in Kinemaster with a step-by-step approach that anyone can follow.
This article will walk you through the entire process, starting with opening the app and creating a new project. You’ll then learn how to upload your video, crop it to your preferred size, and export it in high quality. Along the way, we’ve included helpful tips, common troubleshooting advice, and frequently asked questions to make your experience smoother. By the end of this guide, you’ll be able to crop your videos confidently and create content that stands out.

Why Should You Crop Videos?
Cropping videos can be a game-changer when it comes to enhancing your visual storytelling. Here’s why:
- Focus on Key Elements: Eliminate unnecessary distractions and draw viewers’ attention to the main subject.
- Adjust Aspect Ratio: Optimize your videos for platforms like Instagram (square), YouTube (landscape), or TikTok (portrait).
- Enhance Visual Appeal: Achieve a balanced composition and professional look.
- Fix Unwanted Edges: Remove accidental borders or objects in the frame.
With Kinemaster’s intuitive interface, cropping videos is straightforward. Read on for a step-by-step guide to mastering this essential skill.
Step-by-Step Guide on How to Crop Videos in Kinemaster
To make your learning experience seamless, we’ve broken down the process of cropping videos in Kinemaster into five simple steps. Follow along and transform your video editing workflow.
Step 1: Open Kinemaster
The journey begins by launching Kinemaster on your smartphone or tablet. Ensure you’ve downloaded and installed the latest version of the app for optimal performance.
Tips for Opening Kinemaster:
- Double-check that your device has enough storage and RAM to support smooth editing.
- Allow all necessary permissions to access media files stored on your device.
Once the app opens, you’ll be greeted with a clean, intuitive interface that’s perfect for both beginners and seasoned editors.
Common Issues When Opening Kinemaster
If you encounter any issues, such as crashes or delays, try the following:
- Clear cache memory.
- Update to the latest app version.
- Restart your device and relaunch the app.
With Kinemaster open and ready to use, proceed to the next step.
Step 2: Create a New Project
After opening Kinemaster, the next step is to create a new project. Follow these easy instructions:
- Tap on the “+ (Create New)” button on the home screen.
- Choose the desired aspect ratio for your video project:
- 16:9 for landscape (YouTube, Facebook).
- 1:1 for square (Instagram).
- 9:16 for portrait (TikTok, Instagram Reels).
Pro Tip to Crop Videos in Kinemaster
Consider the platform where your video will be uploaded. Each platform has its unique aspect ratio preferences, so choosing the right one is crucial for maximizing your video’s impact.
Once you select the aspect ratio, your blank project canvas is ready, and you’re all set to import your video.
Step 3: Upload Your Video
To crop your video, you’ll first need to upload it to the Kinemaster timeline. Here’s how:
- Tap the Media Browser button on the right-hand toolbar.
- Navigate to the folder where your video is stored.
- Select the video file you want to edit, and it will automatically appear on the timeline.
Things to Keep in Mind: Crop Videos in Kinemaster
- Make sure your video’s resolution and format are supported by Kinemaster.
- Import high-quality video files for the best results.
Once your video is on the timeline, you can start customizing it.
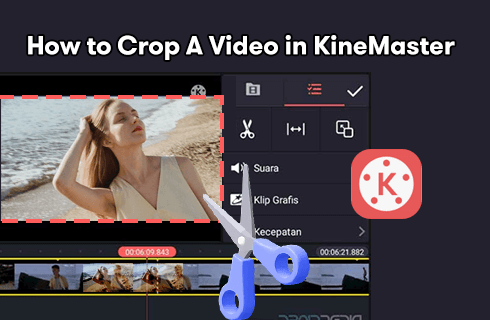
Step 4: Crop Your Video
Now, it’s time to perform the cropping. Cropping in Kinemaster is as easy as adjusting a slider. Follow these instructions:
- Select the video layer on the timeline by tapping it.
- Tap the Crop Button (scissor-like icon) in the toolbar.
- Drag the edges of the frame to remove unwanted areas.
- Preview the cropped video by playing it in the preview window.
Alternative Method: Using Pan & Zoom to Crop Videos in Kinemaster
For more creative cropping options, use the Pan & Zoom feature:
- Select the video layer and tap Pan & Zoom in the toolbar.
- Adjust the start and end positions to achieve zoom-in or zoom-out effects while cropping.
Benefits of Cropping in Kinemaster:
- Flexibility to edit precise portions of the frame.
- Creative tools to enhance storytelling.
Step 5: Export Your Video
After cropping your video, the final step is to export it in the desired format and quality.
- Tap the Export button on the top-right corner of the screen.
- Choose the resolution, frame rate, and quality (e.g., HD, Full HD, or 4K).
- Tap Export again to save the video to your device.
Tips for Exporting: Crop Videos in Kinemaster
- Use higher resolution settings for professional-quality output.
- Save your project periodically to avoid losing progress.
Exporting takes a few minutes, depending on your video’s size and your device’s capabilities. Once exported, your perfectly cropped video is ready to share with the world.
Conclusion
Cropping videos in Kinemaster is an essential skill for anyone who wants to create engaging, platform-specific content. By following these five simple steps — Open Kinemaster, Create a New Project, Upload Your Video, Crop Your Video, and Export Your Video — you can easily crop videos to perfection without any hassle.
Mastering these techniques not only enhances the quality of your videos but also sets you apart as a skilled video editor. Whether you’re creating content for personal use or professional projects, Kinemaster provides all the tools you need to achieve your creative goals.
So, grab your device, fire up Kinemaster, and start cropping like a pro today.
FAQs
1. What is Kinemaster?
Kinemaster is a professional-grade video editing app designed for smartphones and tablets. It offers features such as cutting, trimming, cropping, transitions, and special effects, making it a favorite among both beginners and professionals.
2. Can I crop videos for free in Kinemaster?
Yes, you can Crop Videos in Kinemaster. However, the free version includes a watermark in the exported video. To remove the watermark, you need to purchase the premium version.
3. What file formats are supported by Kinemaster?
Kinemaster supports a wide range of formats, including MP4, 3GP, and MOV. Ensure your video is in a compatible format before uploading.
4. Is cropping the same as trimming a video?
No, cropping adjusts the visible frame of the video, removing parts of the video’s edges. Trimming, on the other hand, shortens the video by removing sections from its beginning or end.
5. Can I adjust the aspect ratio after cropping?
Yes, you can change the aspect ratio of your project even after cropping. Go to the project settings in Kinemaster to make the necessary adjustments.
6. Why can’t I see the crop tool in Kinemaster?
If the crop tool is unavailable, ensure that the video layer is selected. The crop tool only appears when the video layer is active on the timeline.
7. Does cropping affect video quality?
Cropping itself doesn’t reduce video quality. However, excessive cropping might make the video look pixelated if you zoom in too much on a low-resolution file.
8. How do I avoid losing progress while editing?
Kinemaster offers an auto-save feature. Additionally, you can manually save your project at any point to avoid losing progress.
9. Can I crop multiple videos in the same project?
Yes, you can crop multiple video clips within a single project. Add each clip to the timeline, select them individually, and use the crop tool as needed.
10. What resolution should I use for exporting cropped videos?
The resolution depends on your platform. For example, 1080p (Full HD) is ideal for YouTube, while 720p might suffice for Instagram and TikTok. Choose a resolution that balances quality and file size.